

Data Connectors
Connect your components to dynamic data from your Shopify store - product titles, prices, collection names, and more. Update once in the visual editor, and your content stays fresh automatically.Using Data Connectors in Studio
No coding required! Click the database icon above any text field to visually select your data source.
How It Works
- Click the database icon above any text, textarea, or richtext field
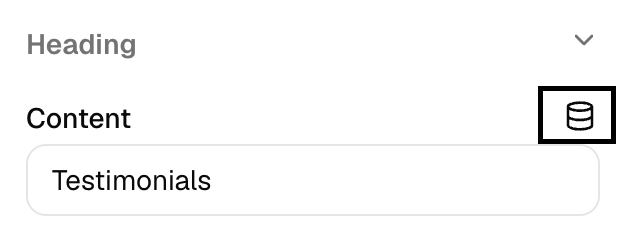
- Browse available data from your store (products, collections, pages, shop info)
- Select what you need - we’ll generate the code automatically
- See it live - preview updates instantly

Example: Product Title
Instead of typing code, just:- Click the database icon
- Navigate: Current Page → Product → Title
- Done! The product title appears automatically

Available Data Sources
Shop Data: Store name, currency, domain (from root loader) Current Page: Product/collection/page details for the active page (from route loaders) Route Data: Specific page routes in your theme (from route loaders) Custom Data: Any data you return from your loader functions - third-party APIs, custom integrations, computed values
How Data Connectors Work
Data connectors pull information from your Hydrogen/React Router loader functions. This means developers can customize what data is available by modifying loaders.Adding Custom Data Sources
Want to connect to third-party APIs? Just add the data to your route loader:{{routes/product.reviews.rating}} or {{routes/product.customData.value}} without writing code.
Where Data Comes From
Template Syntax (For Developers)
Using Studio’s visual interface? Skip this section - the syntax is auto-generated for you.
{{path}} syntax to reference data:
Data Source Patterns
Complex Routes
For routes with parameters:Using in Component Code
Add data connectors to your component schema:Extending with Third-Party Data
Example: Adding Product Reviews
{{routes/product.reviews.average}}→ Shows “4.5”{{routes/product.reviews.count}}→ Shows “127 reviews”{{routes/product.reviews.items[0].text}}→ First review text
Example: Adding Custom API Data
Quick Tips
✅ Best Practices
🐛 Troubleshooting
Data not showing?- Check the path exists on that page type
- Verify you’re on the correct page (e.g., product page for product data)
- Use Studio’s visual picker to verify the correct path
{{...}} in output?
- The data path doesn’t exist or isn’t loaded yet
- Check your route matches the data source
🔒 Security
Data connectors automatically sanitize output to prevent XSS attacks. Your content is safe.Related Docs
- Component Schema - Define component settings
- Input Settings - Configure input types
- Creating Components - Build components